Filling Tuner Screw Holes -- How To Make Skinny Dowels
So, you want to replace the tuners on your vintage Harmony Acoustic, or any acoustic for that matter. Why not fill all the existing holes first, lacquer or varnish over the filled holes, polish the back of the gear head, and install the new tuners with accurately drilled holes? Neatness, like cleanliness, is next to Godliness. Did I state that correctly?
The following suggests a way to make 1/16 inch or smaller dowels for filling tuner screw holes. The dowels should fit the old screw holes perfectly without pounding or other techniques which may damage the gear head. Avoiding splitting is important because some gear heads are easy to split poplar or basswood. The screw holes should be filled with a dowel sized to fit the entire depth of the screw hole, not just the top 1/16 inch. And there is never any justification for drilling out the screw hole so as to fit a 1/8 inch dowel. And the dowel should fit snugly because all glues appropriate for guitar work do not fill gaps effectively. And it is never appropriate to 1) fill the hole with glue or 2) glue the screw into the hole. There is a special place in hell for those who glue tuner screws into the gear head.
So, how to make a properly sized dowel to fit those tiny little tuner screw holes? Steps follow:
- Remove old tuners and use naphtha to clean out the screw holes. Do not enlarge the holes.
- Using a jack plane or larger plane, straighten one edge of a piece of 1/8" thick mahogany scrap. Scrap should be approximately 10" long.
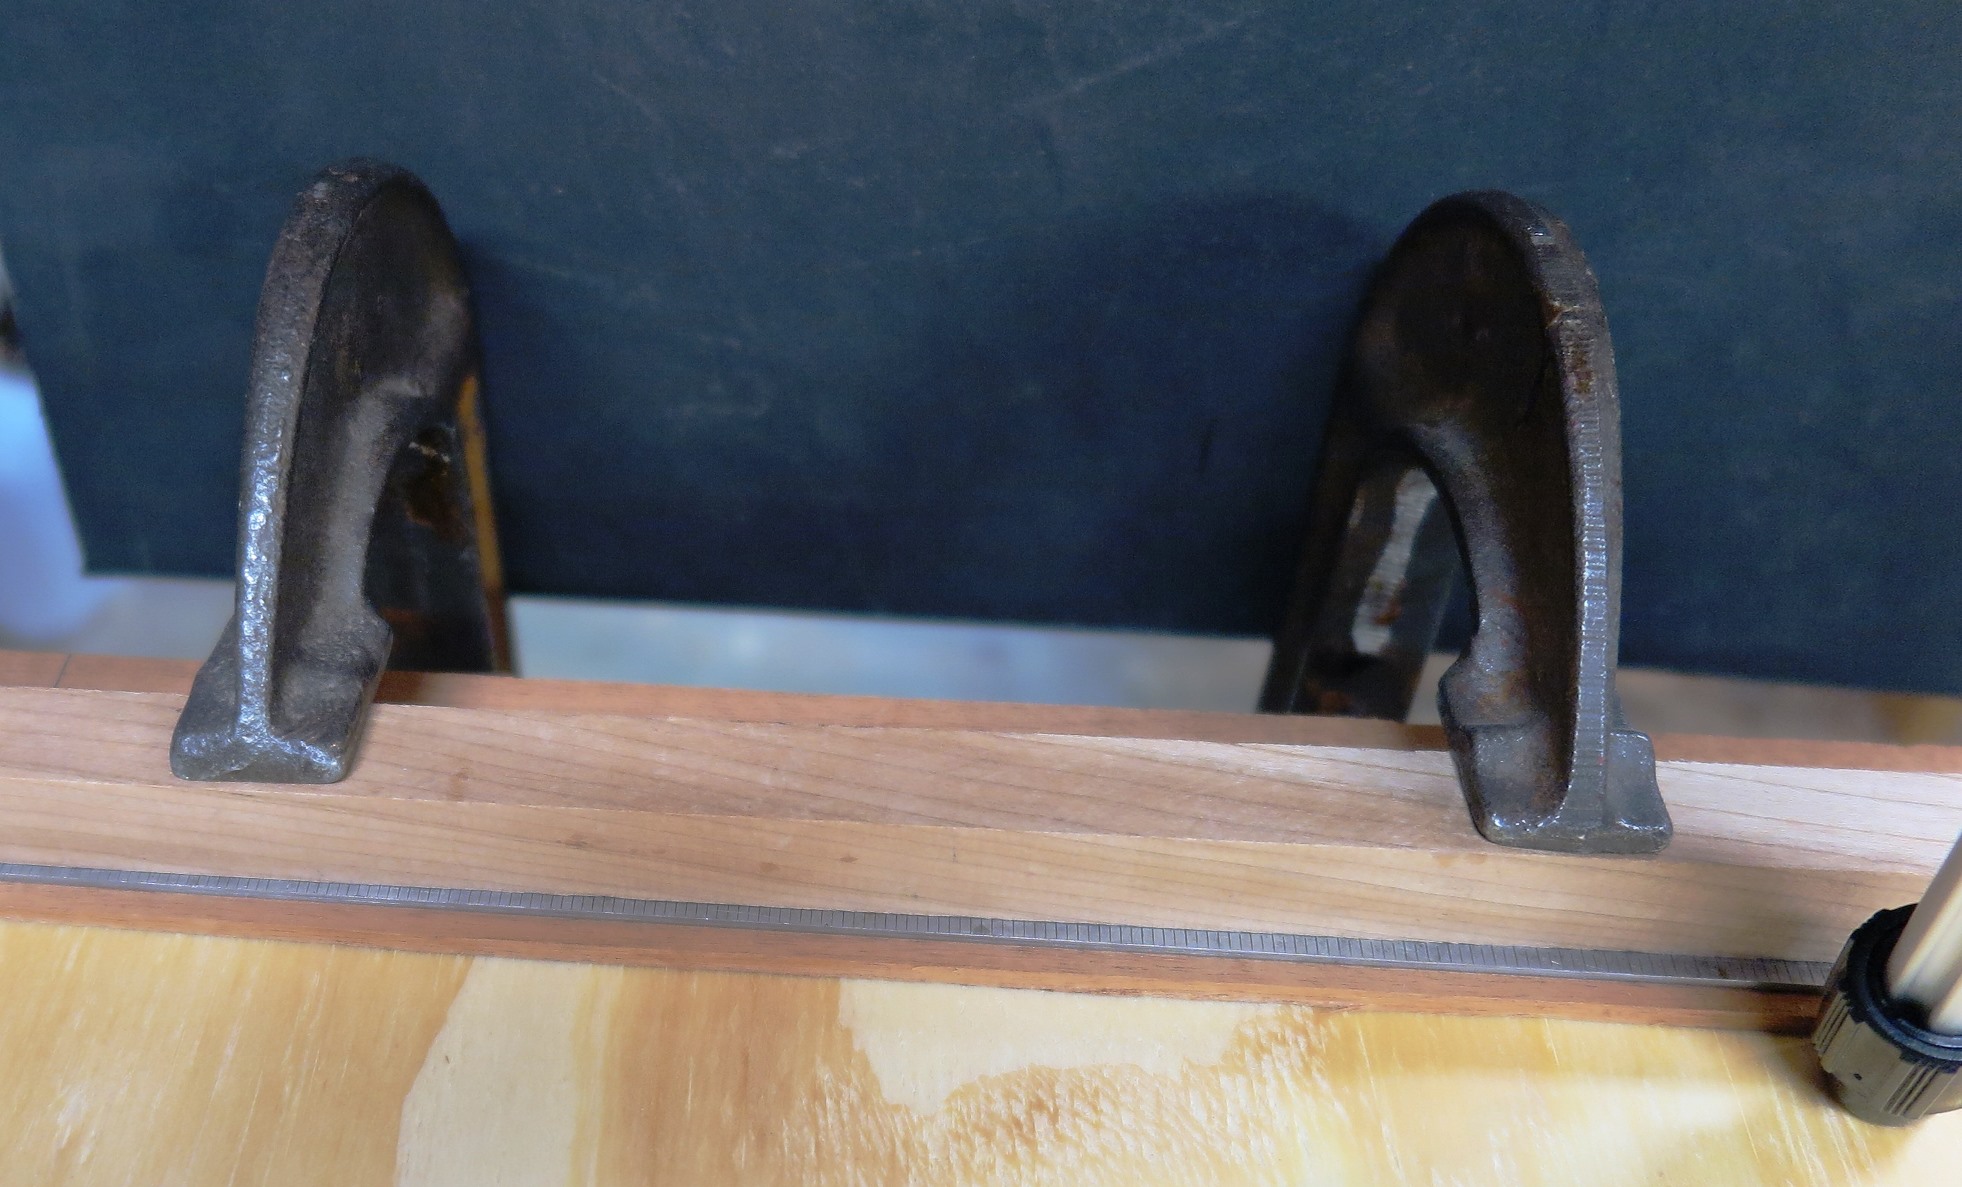
- Clamp the scrap to a board or work bench as shown below. Note the steel straight edge captured under the 3/4" x 3/4" wood piece.
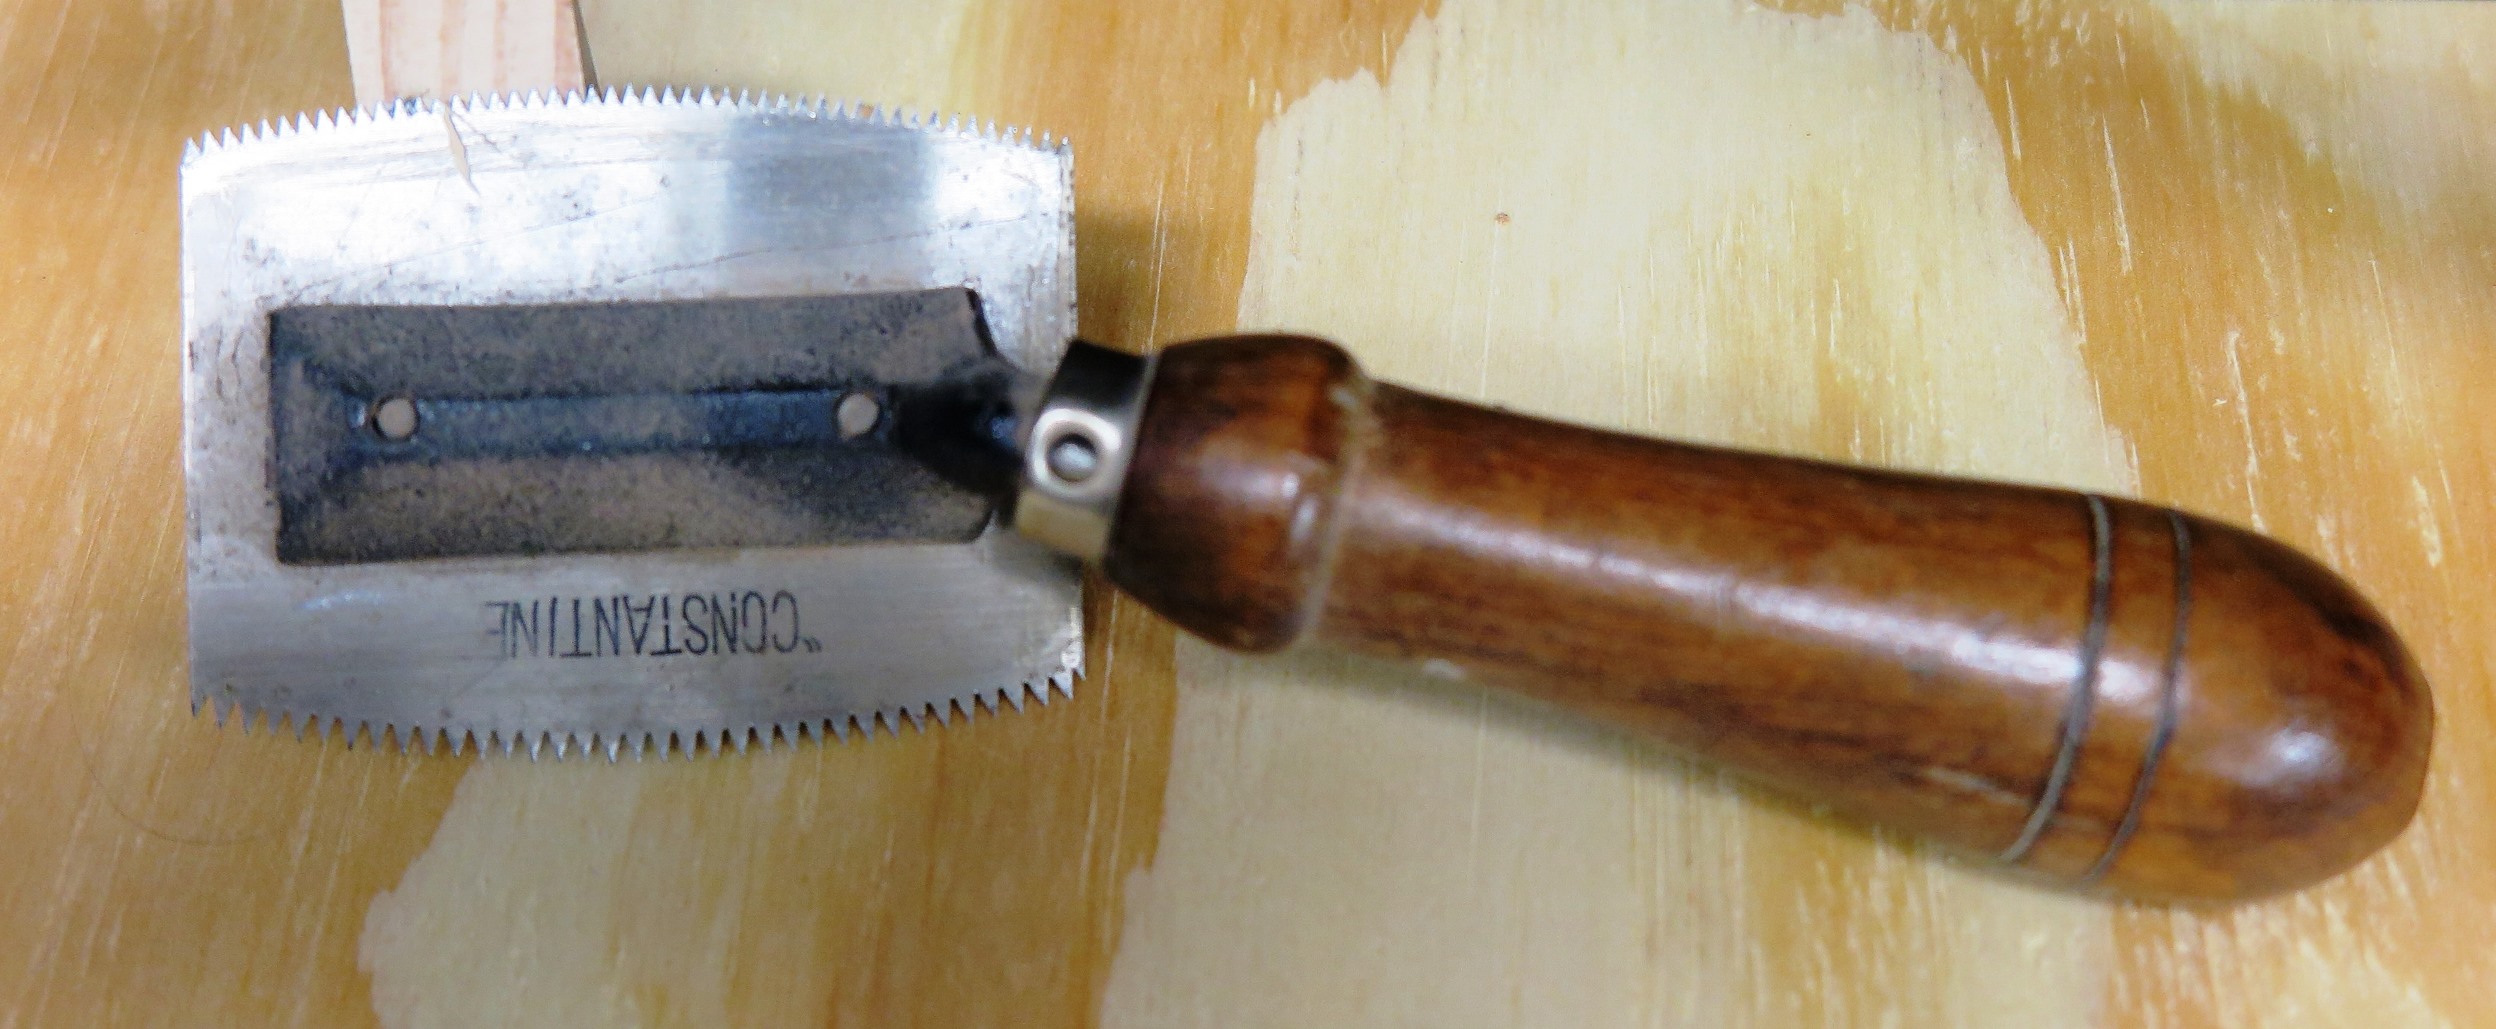
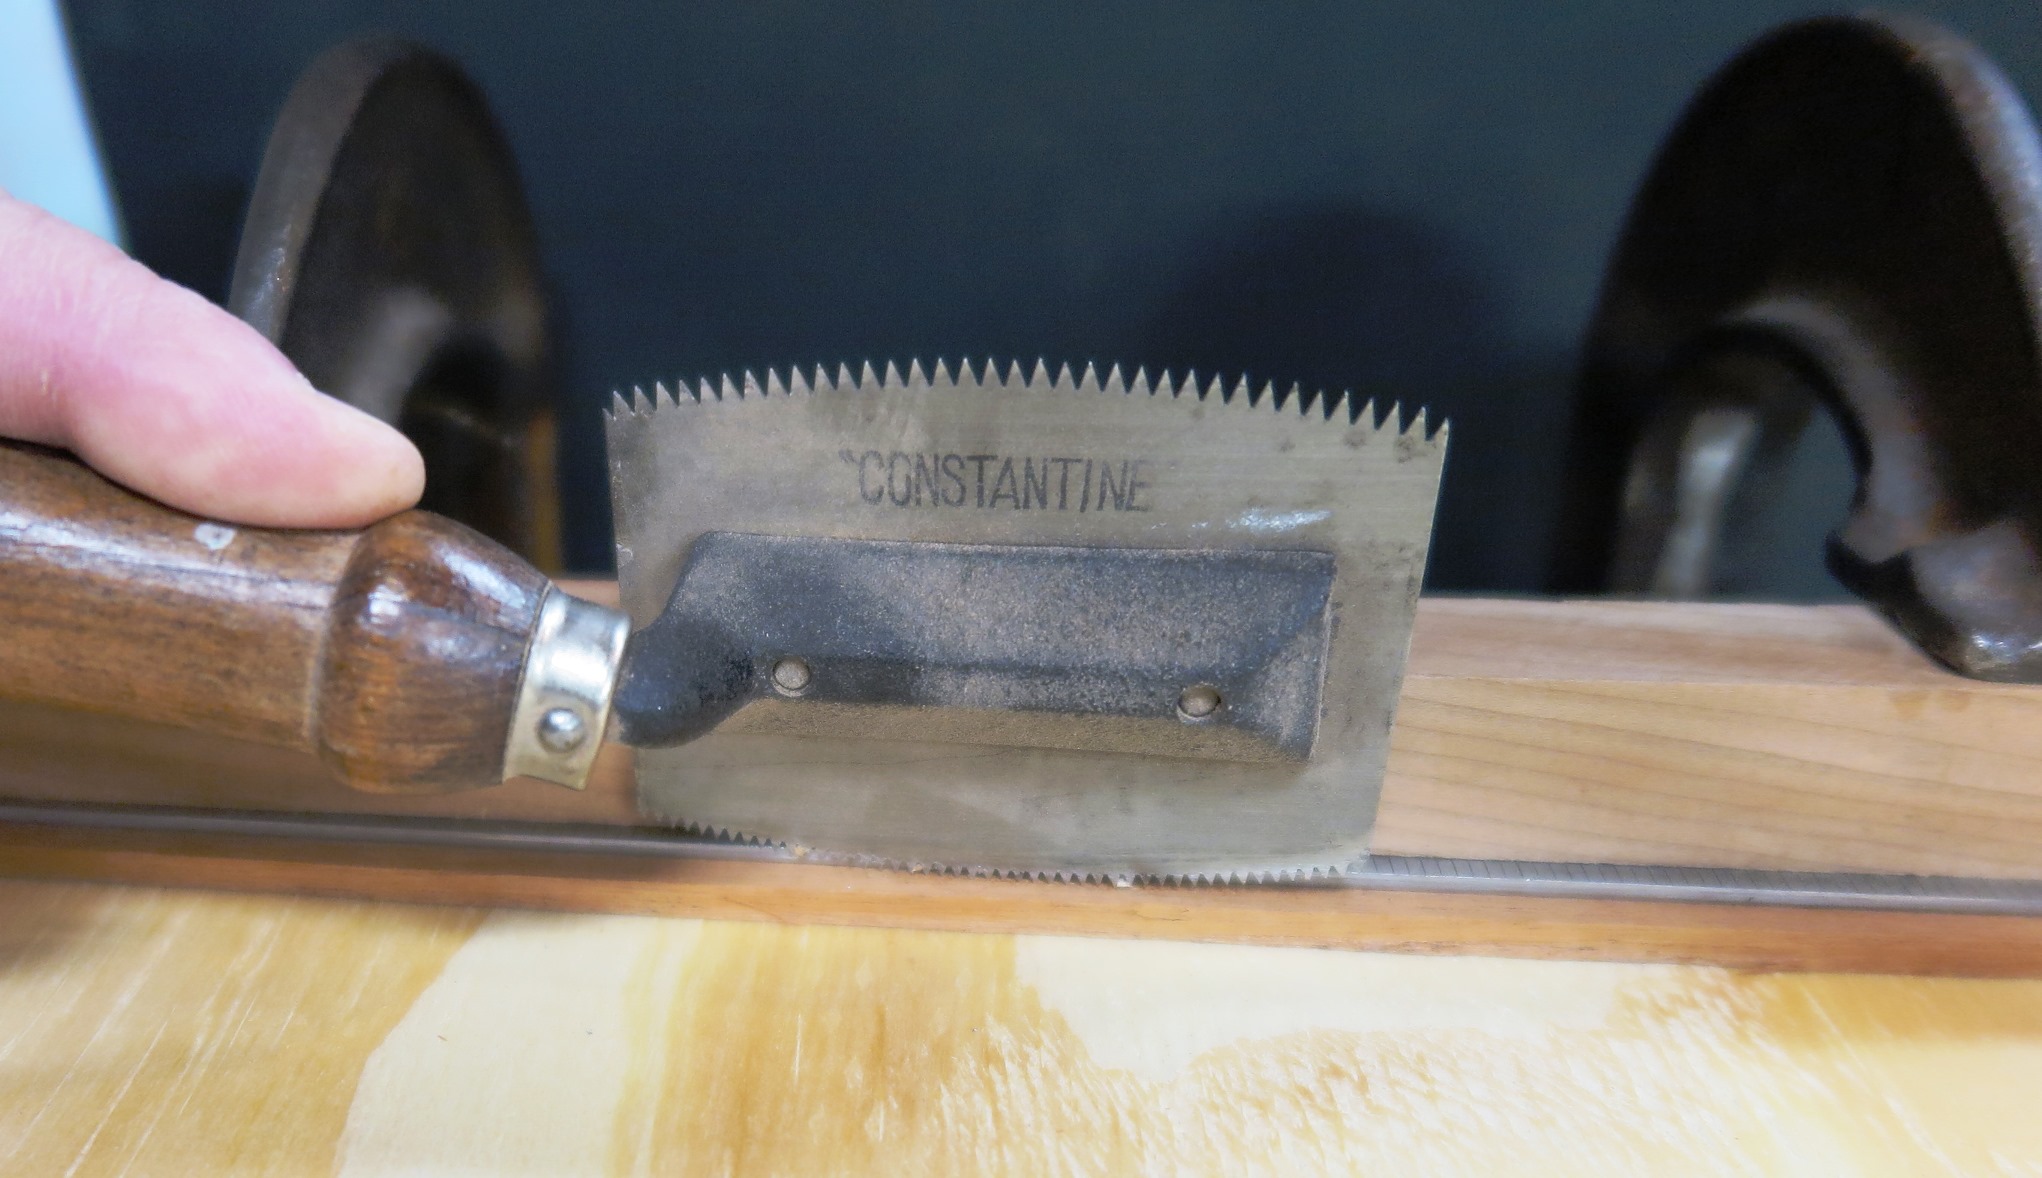
- Cut a 1/8" wide strip from the mahogany scrap mentioned in 2 above. You might think you can cut the strip with a knife of some kind. That usually results in a broken strip. This operation actually requires sawing as opposed to slicing. The image below shows the secret to cutting long break free 1/8" strips. The tool shown is a veneer saw. These are available from wood working suppliers. Run the veneer saw against the steel straight edge. It will take multiple passes to cut all the way through.
- Use a block plane to shave off the corners from the strip. Precision not required here, just minimal reduction. Leave one end as is for 2 inches or so.
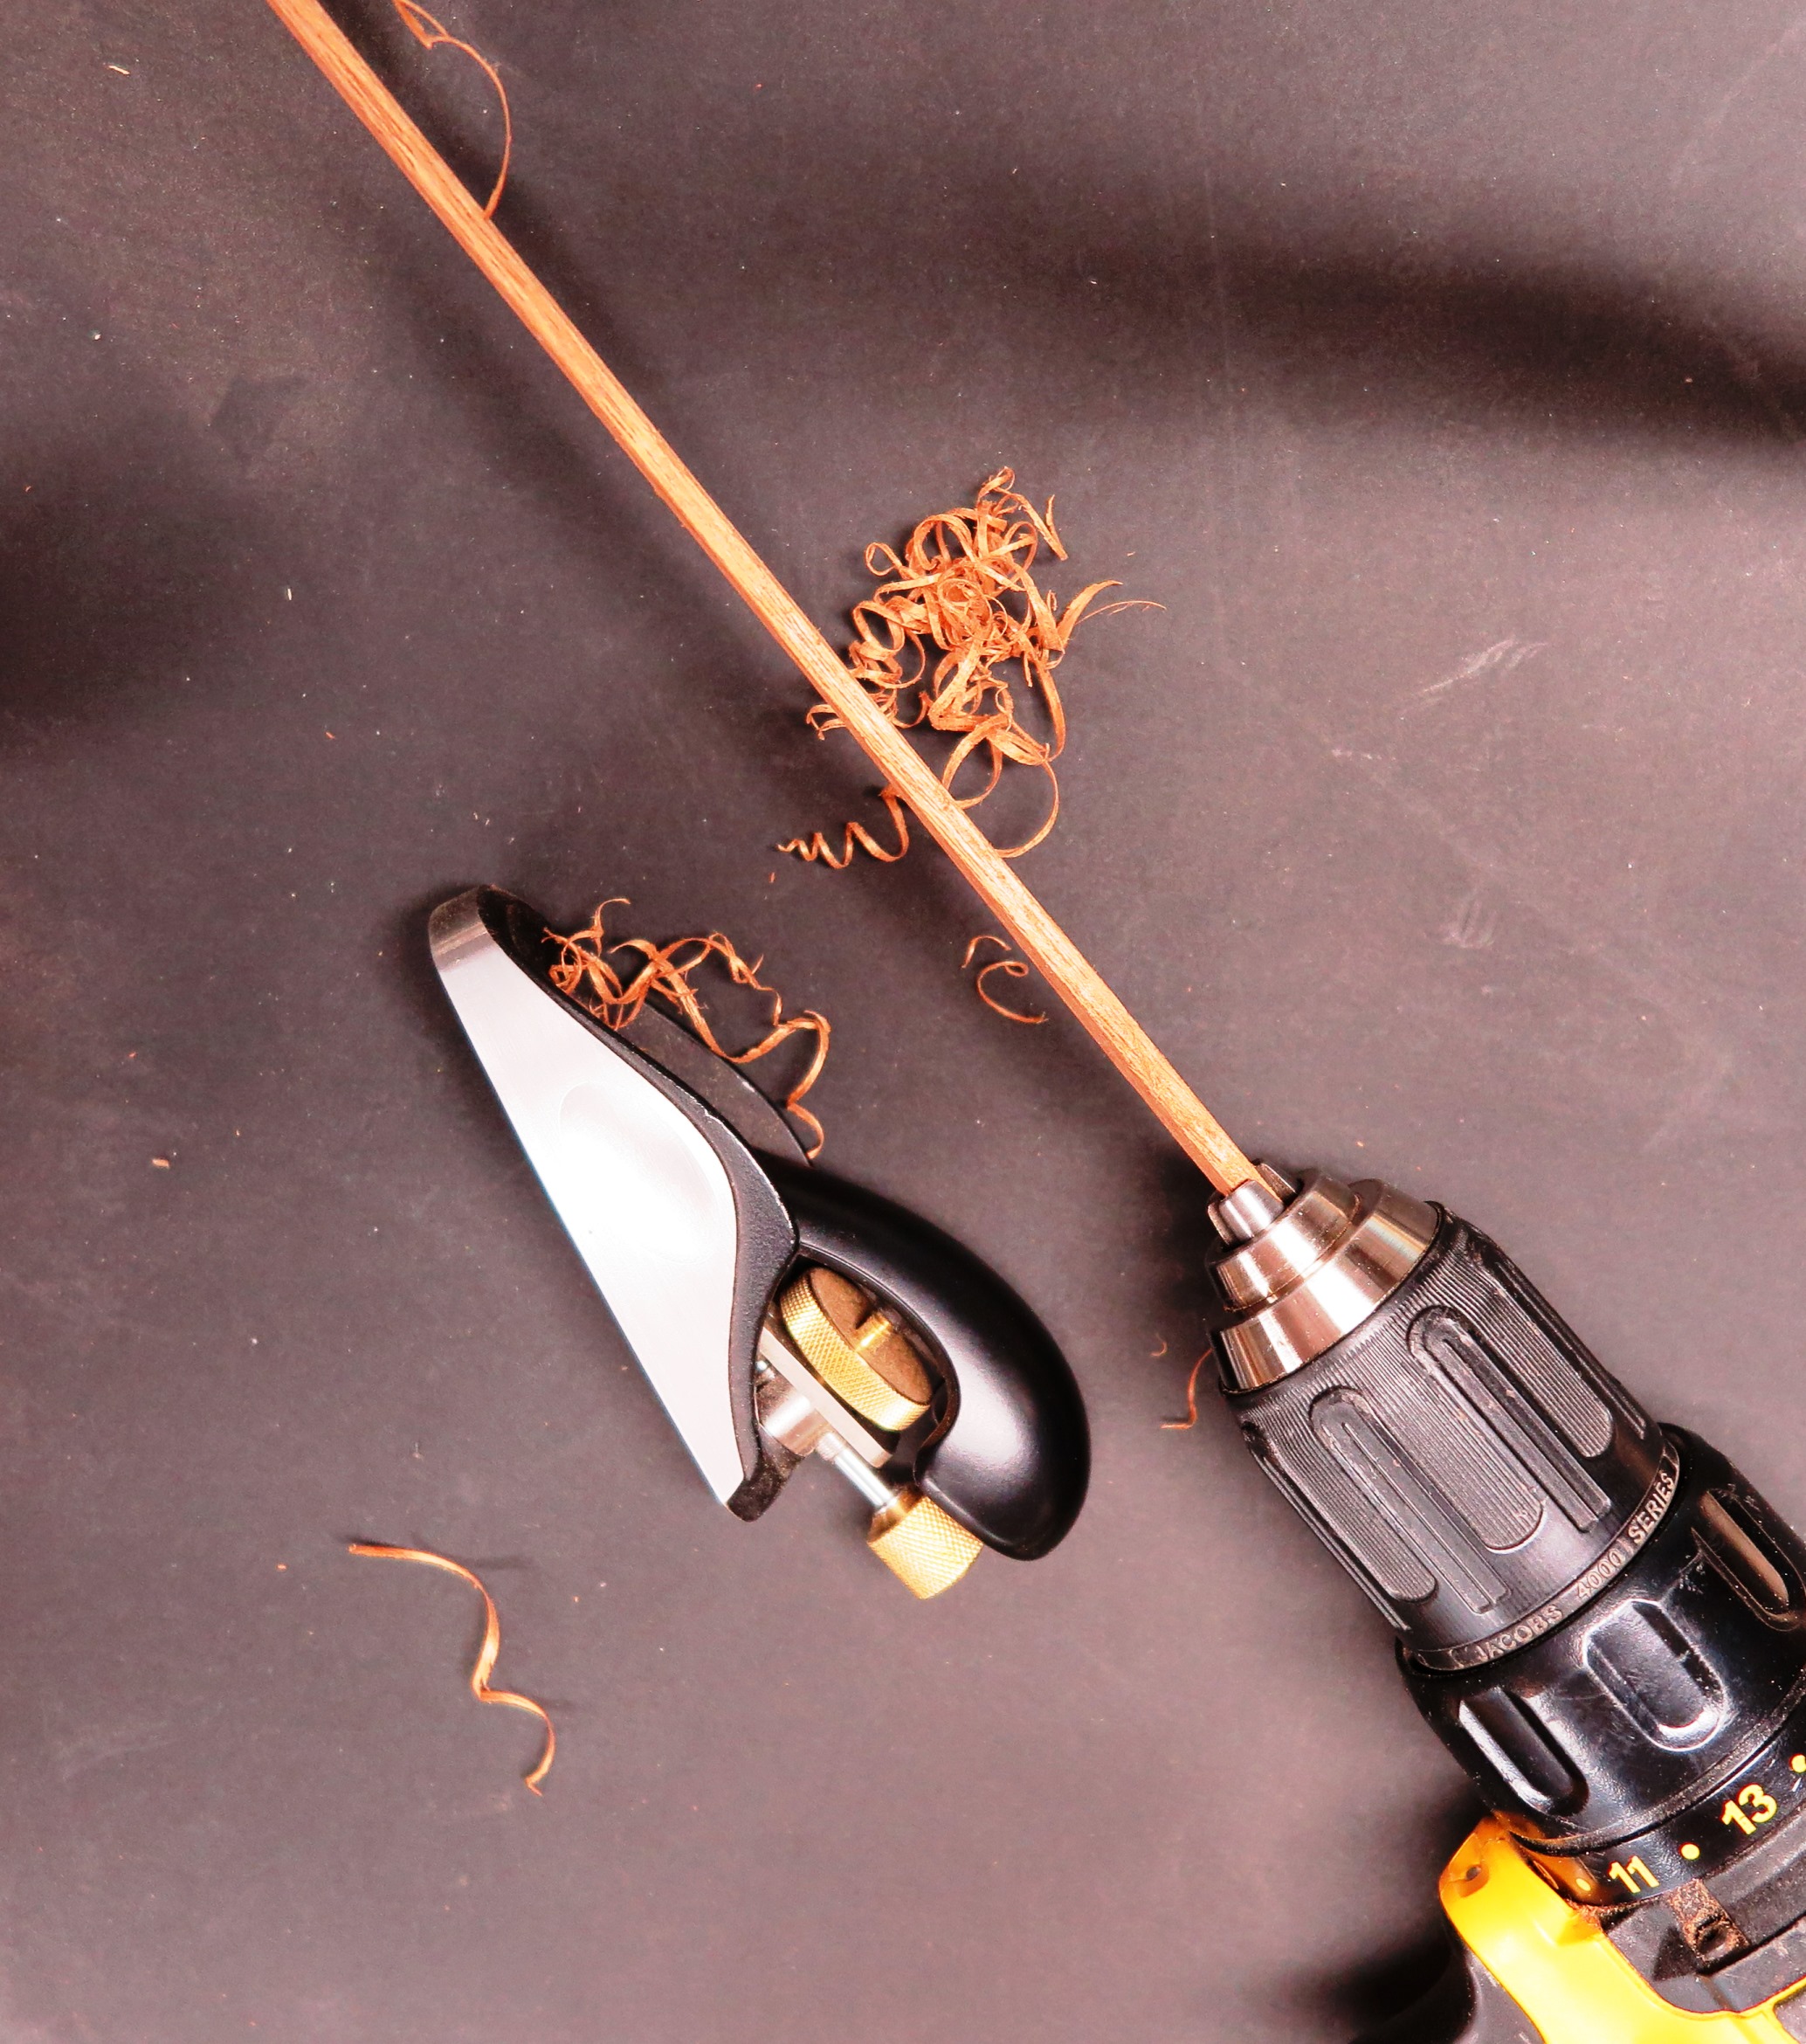
- Chuck the "as is" end of the strip in any drill capable of slow speeds. I use one of these new fangled battery drills.
- Fold a small piece of 120 grit sand paper in half, grit side in. Turn on the drill and gently squeeze the strip in the sand paper. Try not to bend the strip.
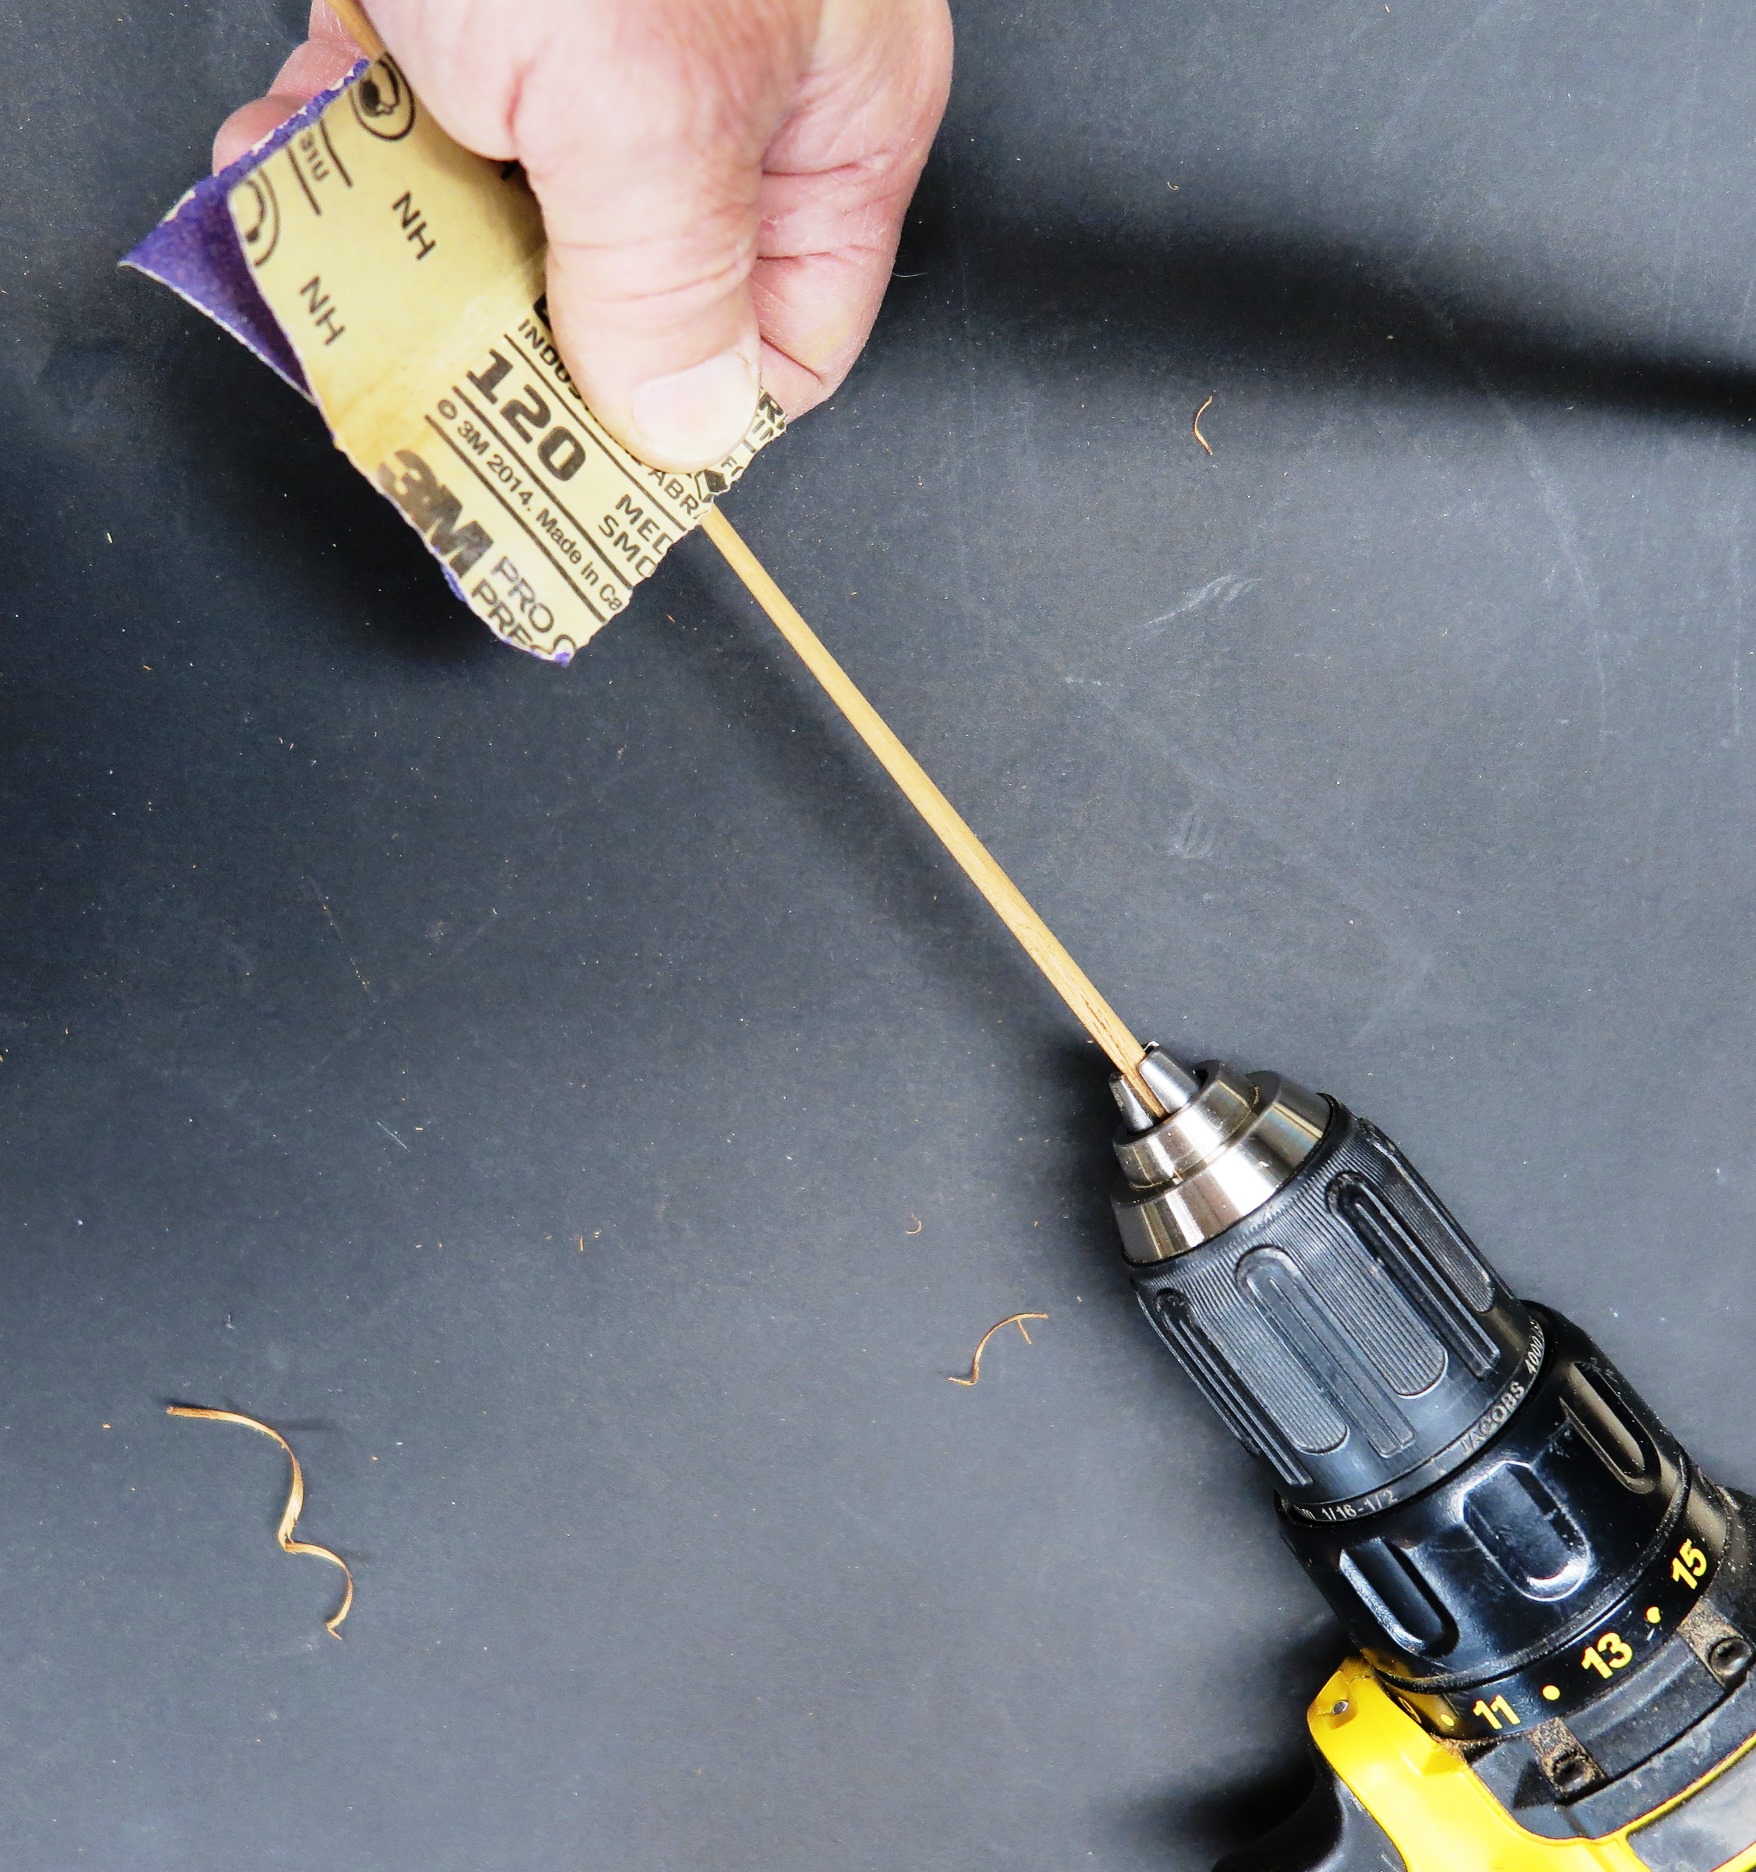
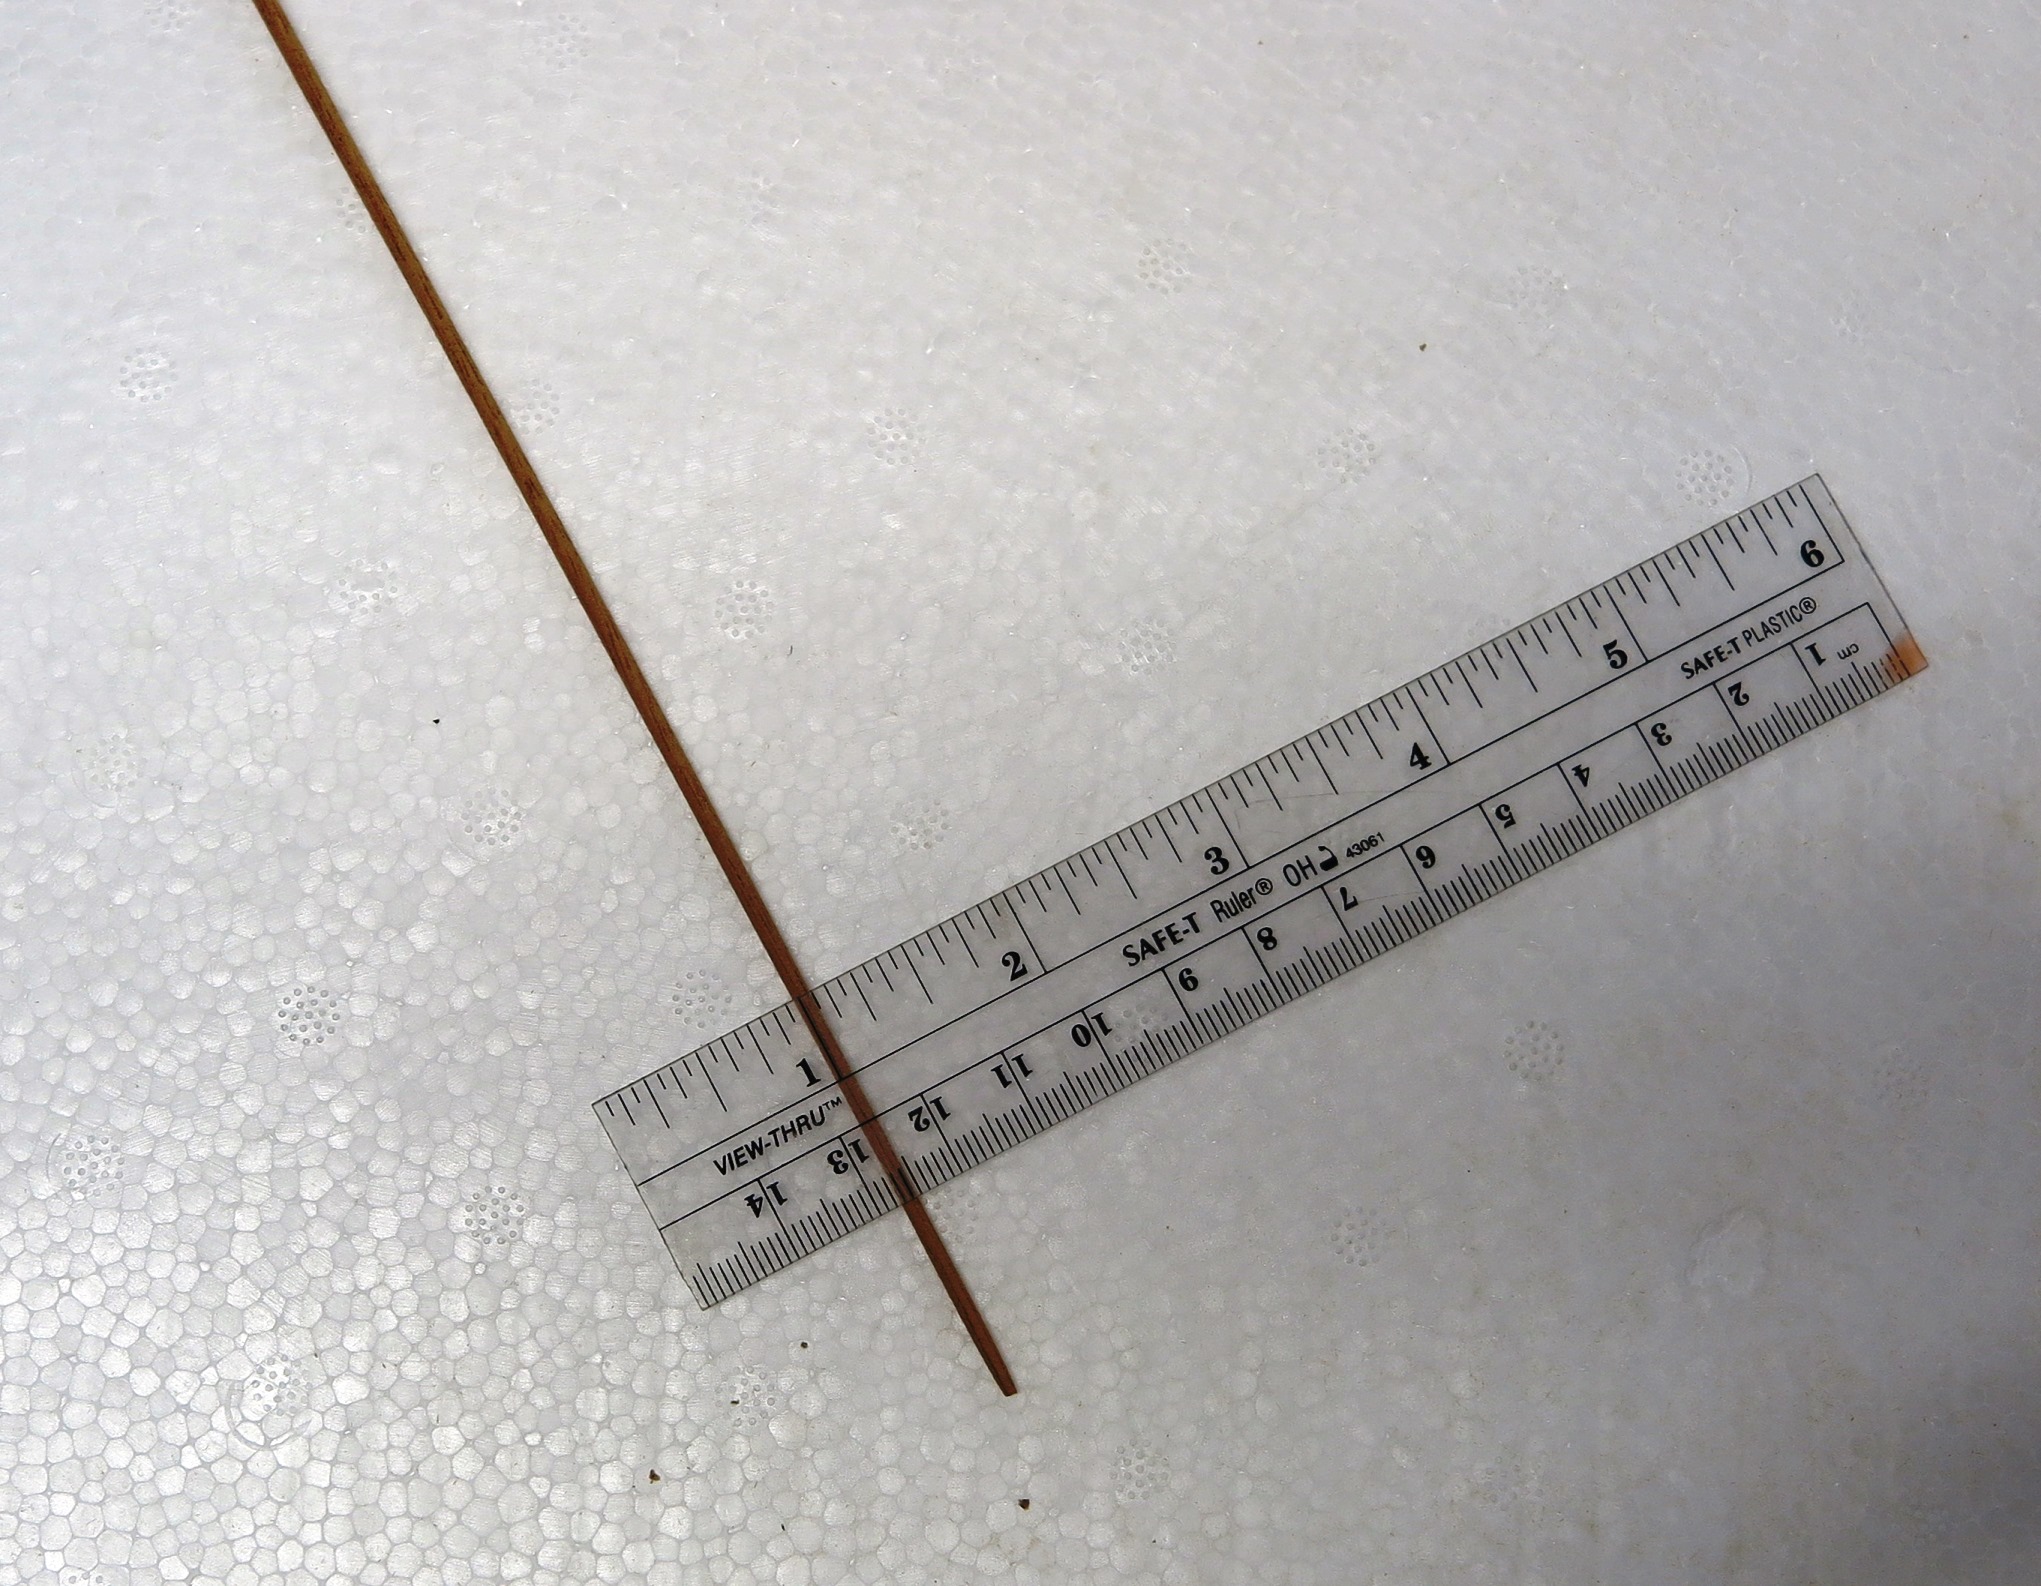
- Sand until the dowel is reduced to 1/16" or less as needed. Fit the dowel to the screw hole diameters. Finished dowel shown below.
- A further step not shown here is to sharpen the dowel to a point. I use 220 grit on a flat surface. This allows dowel to go into the screw hole to the full depth of the mounting screw.
- Glue the dowel bits in with hide glue. A little light pounding is OK. I like hide glue for this job because it cleans up easily. It pops off lacquer or varnish finish and the residue easily wipes off with a wet rag. After drying overnight, cut off the dowel with a flush cut saw. I highly recommend the Kugihiki (12F24) saw sold by Woodcraft. You can also use a very sharp chisel, but that takes a lot of skill and hand strength to avoid digging out a great swath of finish. Therein lies the dark side of guitar repair work.
There is an article somewhere showing how to punch out grain matching top plugs from veneer to glue over an indented wood plug. I guess that looks a little better. Unfortunately, It still looks like a plugged screw hole. I am not sure that is worth all the effort. The mahogany rod plugs suggested above finish well and absorb enough lacquer to darken and look almost as good as one covered with a bit of veneer. And they absorb glue very well so as to hold the screw well and allow drilling a new hole even if slightly off center.
©2019 D.R. Hanna